Almost every resin printing problem is an exposure problem, and almost every exposure problem comes from carrying settings across from a different bottle. The fix is a twenty-minute test print you run once per bottle.
How this page is funded. Buy links go to Amazon and we earn a commission on qualifying purchases at no extra cost to you. Commission never decides an order or a score, we accept no free products or sponsored placements, and every roundup names something to skip. Full disclosure.
The picks, ranked
The picks, ranked
#
Product
Best for
Score
Price
1
Phrozen Aqua-Gray 8KOpaque resins are less sensitive to over-exposure blurring, which makes them easier to dial in.Opaque, formulated for 8K screens
Live prices verified October 17, 2026. Scores are our own fit rating for the stated use, not a measurement and not a customer rating.
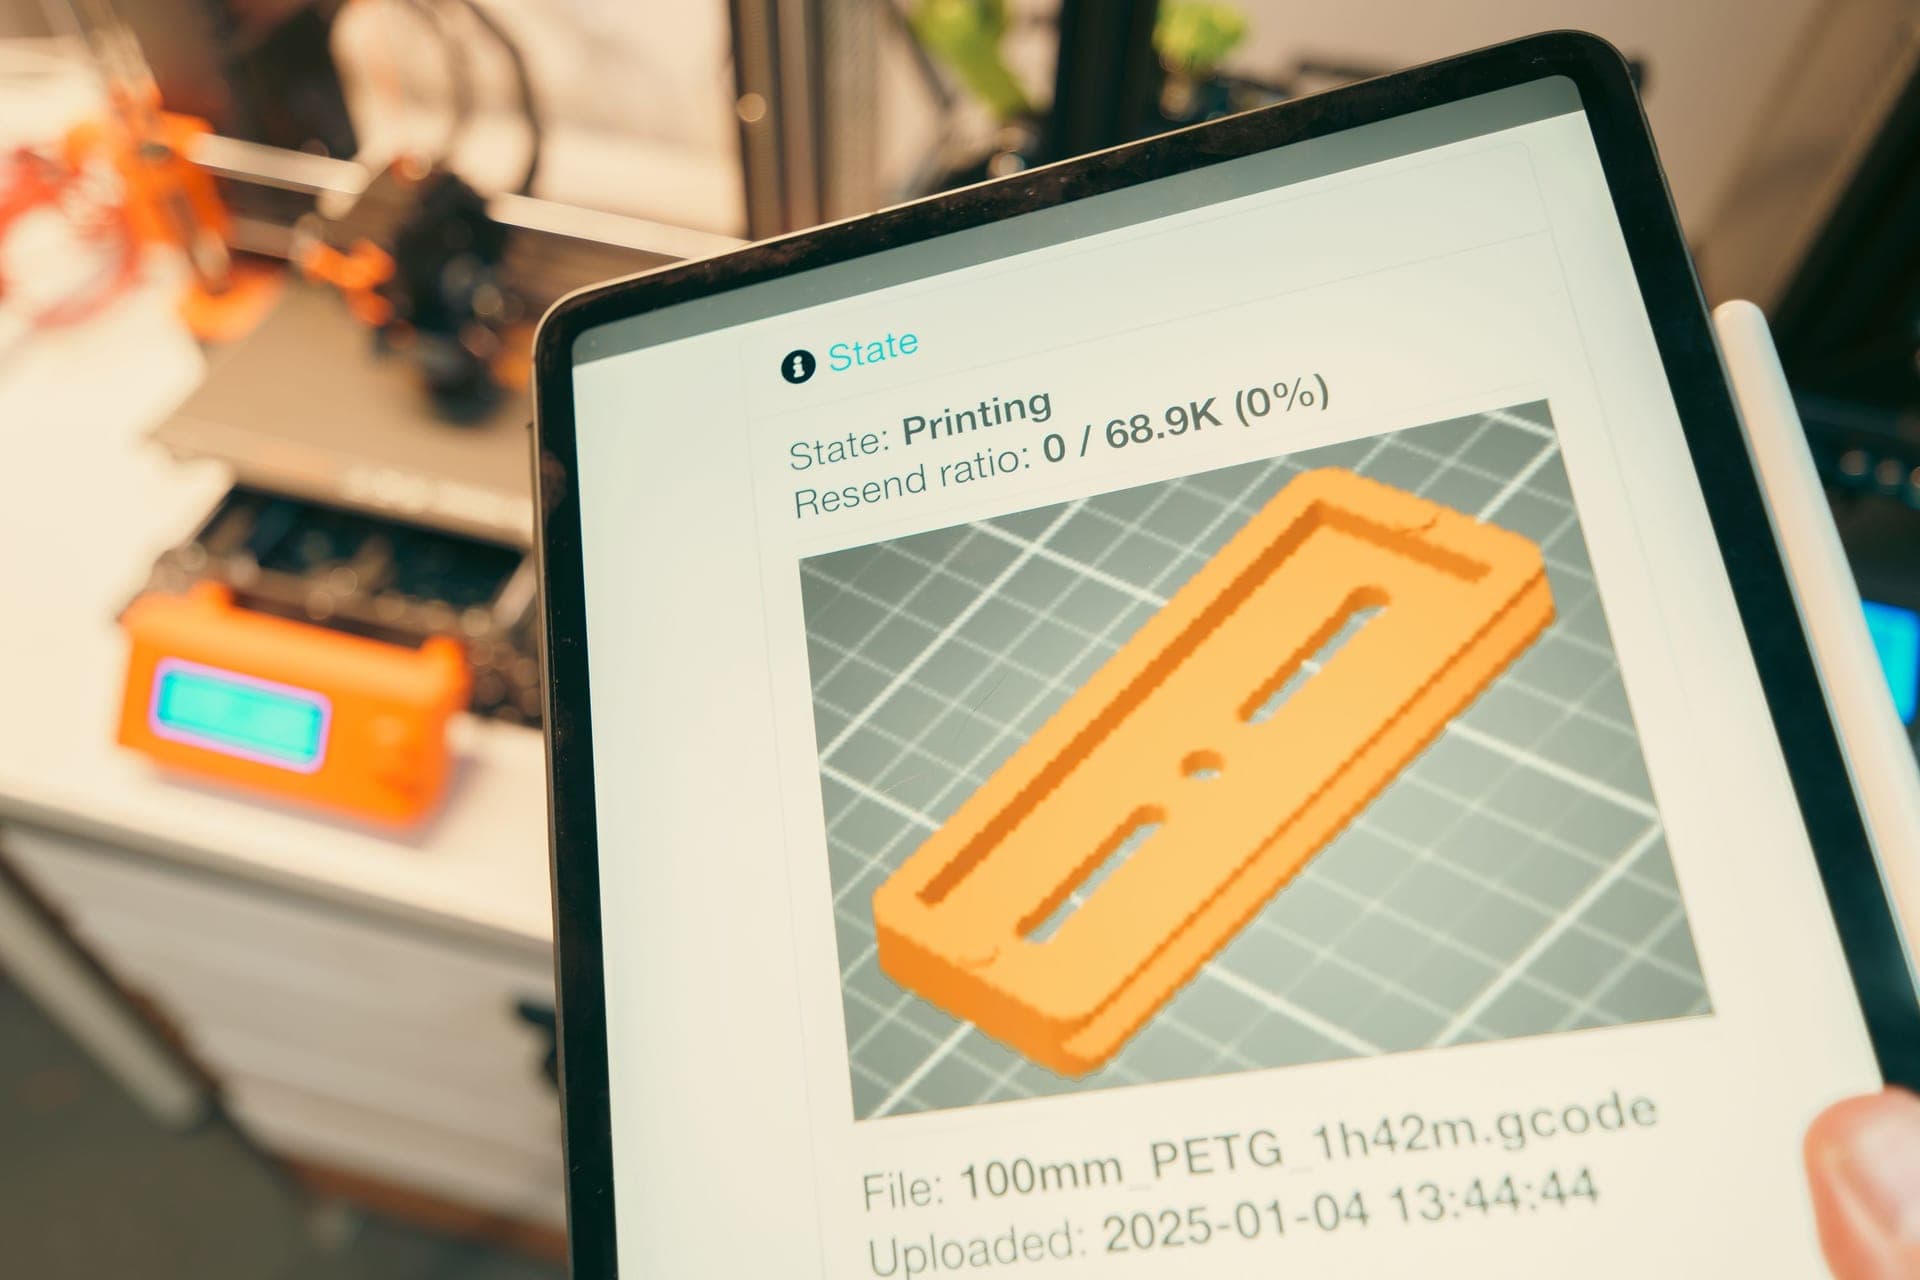
A printer control screen displaying settings.
Why every bottle, not every brand
Resin cures when the photoinitiator absorbs UV and starts polymerization. How long that takes depends on the photoinitiator package, the monomer blend, the pigment loading and the temperature of the resin. Manufacturers change formulations between production runs, and pigment loading differs between colors of the same product.
So the same product in a different color, or the same color from a later batch, can want a different exposure. Twenty minutes of testing against a print that fails at hour six is an easy trade.
Running the test
Print a validation matrix. The community standard test models print several identical features at stepped exposure times in one go, so you get the whole curve from a single print.
Start from the manufacturer's figure if there is one, and bracket it above and below rather than starting from scratch.
Wash and cure the test exactly as you will your prints. An inconsistent wash makes the test measure the wrong thing.
Read it for fine detail, not just adhesion. Plenty of exposure settings stick to the plate; far fewer preserve a 0.2 mm feature.
How to read the result
Under-exposed
Layers do not adhere; part of the print stays in the vat
Soft, slightly rubbery finished parts
Thin features missing entirely
Holes larger than designed
Over-exposed
Fine detail blurred and softened
Holes smaller than designed, or closed up
Supports fused to the part and very hard to remove
Elephant foot: the first few layers wider than the rest
Over-exposure is the more common error because it produces prints that succeed, just badly. An under-exposed print fails obviously; an over-exposed one comes out looking fine until you compare it to the model.
The settings that are not exposure
Bottom layer exposure and count. Much longer than normal layers, to bond to the plate. Too many bottom layers is the usual cause of elephant foot.
Lift speed and distance. Slower lifts reduce peel force, which matters on large cross sections and on delicate supports. Slow lifts cost print time.
Rest time before lift. Letting the resin settle before peeling reduces suction forces on big flat layers.
Layer height. 0.05 mm is a sensible default; 0.03 mm for miniatures. Changing layer height changes the required exposure, so re-test.
Post-processing is part of the settings
Wash time and cure time affect the finished part as much as exposure does. Under-washed parts stay tacky; over-cured parts get brittle. Both look like resin quality problems and neither is.
Standardize the whole chain — same wash time, same cure time, same method — so that when something changes you know it was the exposure. Handling requirements throughout are on resin safetyFormlabs, and the equipment is on resin cleanup.
Every pick, in detail
01
Phrozen Aqua-Gray 8K
Phrozen
A predictable starting point · 8.7/10 our fit score
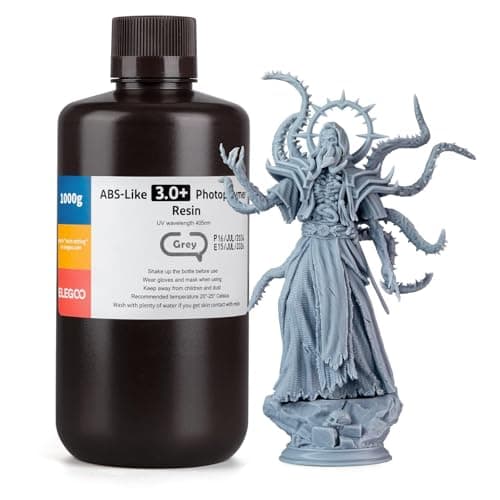
Illustrative photo of the product type, not this exact item.
The miniature resin. Flat gray with almost no translucency, which is exactly what fine detail needs.
Published specifications for Phrozen Aqua-Gray 8K
Bottle size
1 kg
Cure wavelength
405 nm
What it does well
Low light bleed, so small raised detail survives that a translucent resin would blur
The neutral gray reads well under a paint primer
What it does not
Brittle; thin swords and antennae break in handling
One color, by design — there is no version of this for display pieces
+ − How do I find the right exposure time for a new resin?
Print a validation matrix that steps through exposure times in one print, starting bracketed around the manufacturer's figure. Wash and cure it exactly as you would a real print, then read it for fine detail rather than just plate adhesion.
+ − Why do my resin prints have blurred detail?
Usually over-exposure, sometimes resin translucency. Extra exposure cures resin slightly beyond the intended boundary, which rounds off fine features. Reduce exposure and consider an opaque resin for detail work.
+ − Does cold weather affect resin printing?
Yes. Resin cures more slowly when cold, so a setting that worked in a warm room can under-expose in a cold garage. Warming the resin or increasing exposure both work.