Nearly every PETG problem is one of three things in a fixed order: wet filament, wrong temperature, untuned retraction. Attacking them out of order is why PETG has a reputation for being difficult.
How this page is funded. Buy links go to Amazon and we earn a commission on qualifying purchases at no extra cost to you. Commission never decides an order or a score, we accept no free products or sponsored placements, and every roundup names something to skip. Full disclosure.
The picks, ranked
The picks, ranked
#
Product
Best for
Score
Price
1
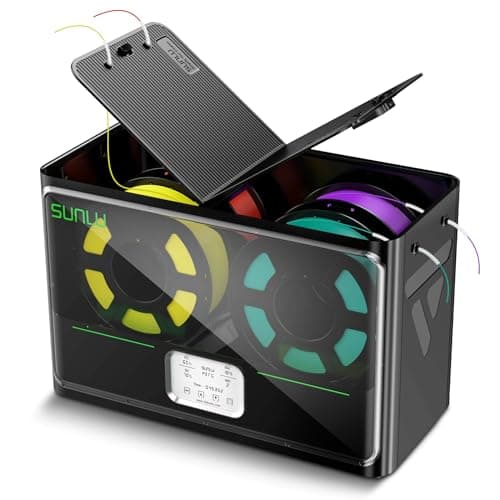
SUNLU FilaDryer S4PETG is the material that makes a dryer worth buying, and 70 C covers PETG's published drying figures with headroom.Up to 70 C, four spools
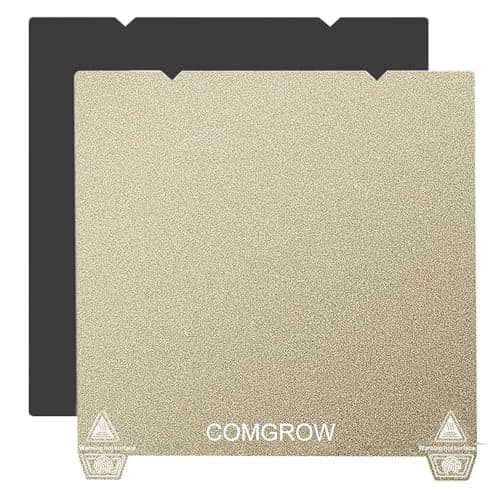
Textured PEI Spring Steel PlatePETG bonds chemically to smooth PEI. A textured surface keys mechanically instead, which is the actual fix.Textured PEI, mechanical keying
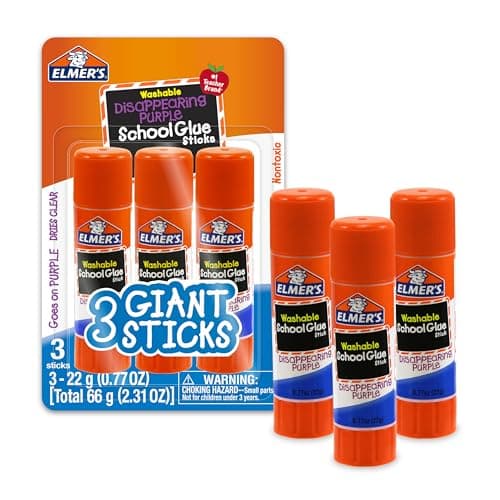
Disappearing Purple Glue StickA dollar of school glue as a deliberate release layer. Genuinely the correct answer if you are not replacing the plate.Water-soluble release layer
Published drying temperatures and times. Prusa Research and Overture disagree on several materials; both figures are shown rather than averaged. A dash means that manufacturer does not publish a figure for that material. Where they differ, the lower temperature for longer is the safer starting point. Figures from Prusa Research, Overture, Prusa Research, retrieved 2026-09-06.
The order, and why it is fixed
Each step assumes the previous one is correct. Doing them out of order produces settings that compensate for a problem you have not fixed, and those settings then break when you do fix it.
Dry the filament. Wet PETG strings regardless of retraction. If you tune retraction on wet filament you will end up over-retracting, which causes clogs later.
Set nozzle temperature. Run a tower across 230 to 260 C, inside the published class window of 215 to 270 C Prusa Research. Take the lowest temperature with clean layer bonding.
Calibrate flow. PETG shows over-extrusion as a rough, blobby top surface. Print a single-wall cube and measure.
Tune retraction. Only now. Increase distance in small steps and watch for the point where stringing stops improving — going past it causes under-extrusion at the start of each new line.
Bed temperature and the plate problem
Prusa publish 70 to 90 C for the PETG bed Prusa Research. Higher is not better here, and this is the one place PETG differs from intuition: a hotter bed increases the chemical bond between PETG and smooth PEI, which is exactly what you do not want.
Start at 75 C. If the part lifts, the answer is usually a cleaner plate or a first layer printed slightly slower, not a hotter bed.
First layer height
PETG wants a slightly larger first-layer gap than PLA. Squashing the first layer hard into smooth PEI is the specific action that welds it to the plate. If your Z offset is tuned for PLA, back it off a little for PETG.
Cooling: less than you think
PLA wants maximum part cooling. PETG does not. Too much cooling on PETG produces poor layer adhesion and a part that delaminates under load, which defeats the entire reason you chose PETG.
Start around 30 to 50 percent fan and only increase it if overhangs are drooping. If you need better overhangs, slowing down usually beats more cooling for this material.
Speed, retraction and the stringing endgame
Slower is better for surface quality. PETG at high speed shows every flow inconsistency.
Coasting and wipe help more with PETG than with PLA, because the material keeps oozing after the extruder stops.
Z-hop avoids the nozzle dragging through stringing and smearing it into the surface. Worth enabling for PETG even where you leave it off for PLA.
Accept some stringing. After drying and tuning, fine wisps remain. A quick pass with a heat gun removes them in seconds. Chasing zero strings through settings alone will cost you more than it returns.
Drying figures
Prusa publish 55 C for six hours; Overture publish 65 C for seven Prusa ResearchOverture. That is a ten-degree disagreement between two manufacturers on the same material, which tells you the window is wider than either number implies. The lower temperature for longer is the safer starting point, and the full table is below.
Dryness matters most of all on transparent colors, where trapped moisture leaves bubbles visible through the whole part. The settings that decide how clear a print comes out are on best clear and transparent PETG.
Every pick, in detail
01
SUNLU FilaDryer S4
SUNLU
Drying PETG properly · 8.8/10 our fit score
Four spools at once, 70 C, and a humidity setpoint rather than a bare timer. The right shape for someone who buys filament by the case.
The published class range is 215 to 270 C at the nozzle. Most spools land between 230 and 250 C. Run a tower and take the lowest temperature that still gives clean layer bonding, because lower reduces stringing.
+ − How do I stop PETG stringing completely?
You mostly do not, and chasing it through settings alone costs more than it returns. Dry the filament, set temperature, tune retraction, enable Z-hop, and remove the remaining fine wisps with a heat gun.
+ − Why is my PETG not sticking to the bed?
Usually a dirty plate rather than a cold one. PETG bonds to a clean surface aggressively. Wash the plate with dish soap and water, and back the Z offset off slightly rather than squashing the first layer harder — squashing it into smooth PEI is how plates get damaged.
+ − How much cooling does PETG need?
Far less than PLA. Start at 30 to 50 percent. Too much cooling weakens layer adhesion, which removes the toughness that was the reason to choose PETG in the first place.